今回使用する技術
・React
・Redux
・Firebase
Firebaseの設定とReactプロジェクトの作成をしていきます。
Firabaseにてプロジェクトの作成
プロジェクトの作成方法は以下を参考にしてください。
https://kazunaka.com/firebase-react-loginapp-1/
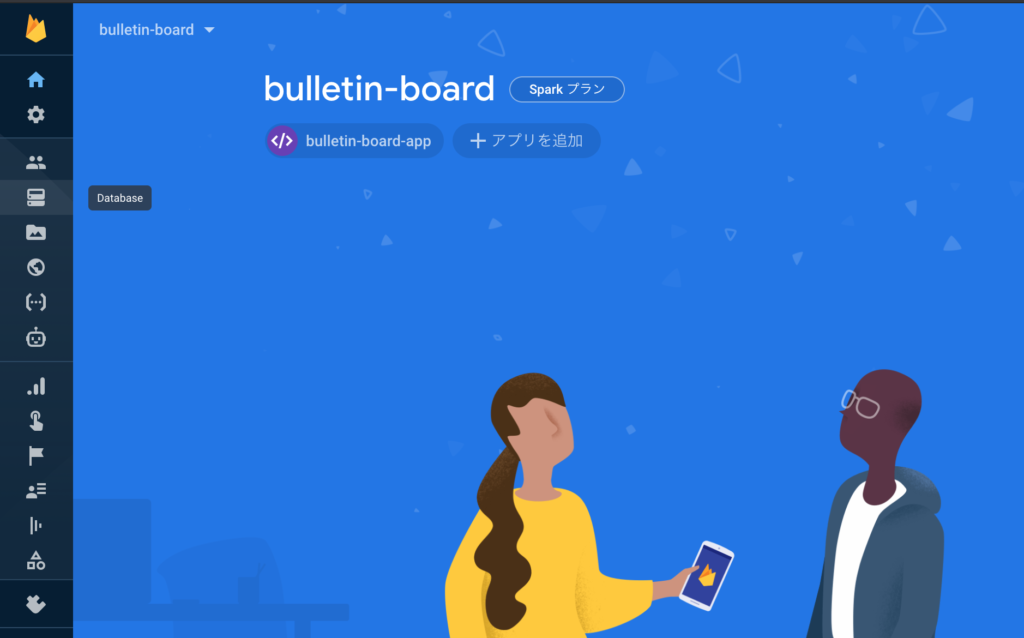
プロジェクトの名前を「bulletin-board」とします。
アプリの名前を「bulletin_board-app」とします。
アプリの作成できた後の説明からしていきます。
左にあるメニューの Database をクリックします。
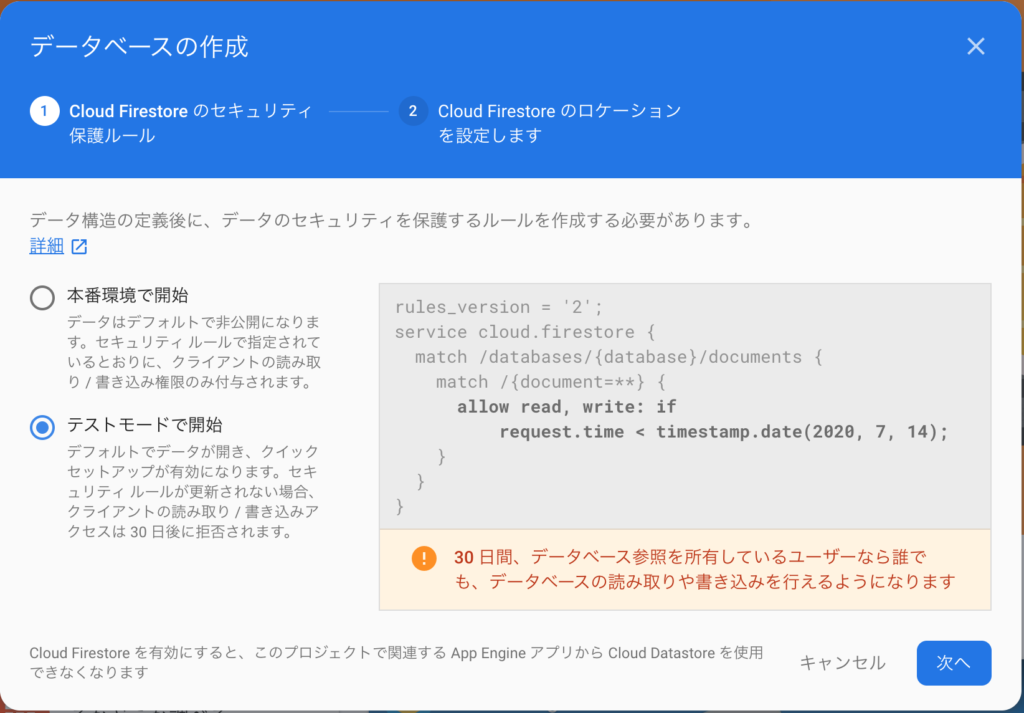
データベースの作成をクリックします。

テストモードで開始で行いたいと思います。
選択して次へをクリックします。
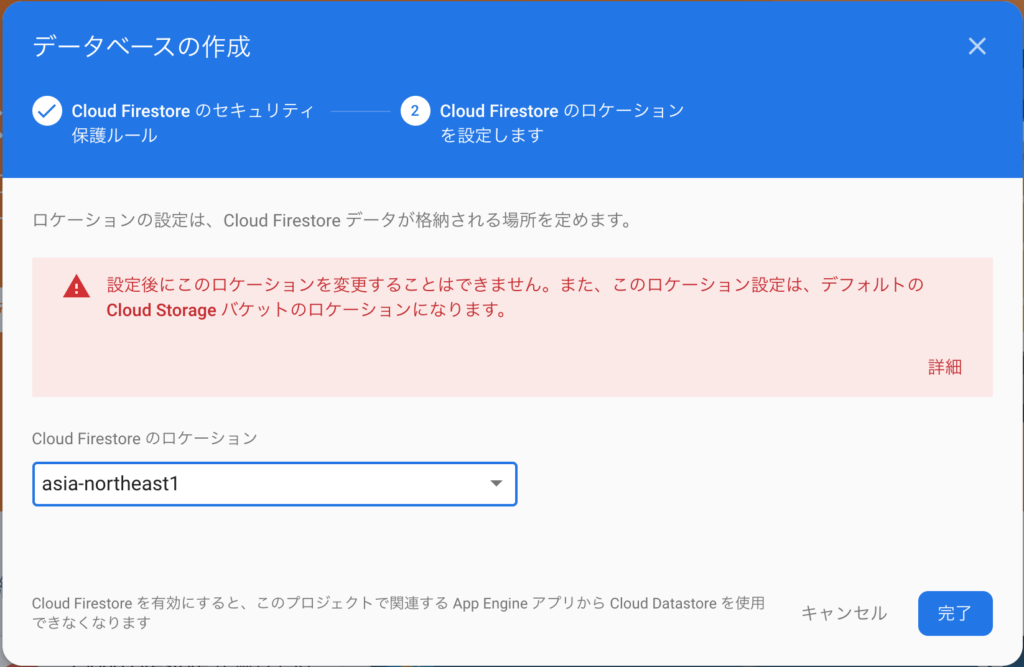
ロケーション(DBの保管場所?)をasia-northeast1にします。
おそらく東京です。
完了をクリックします。
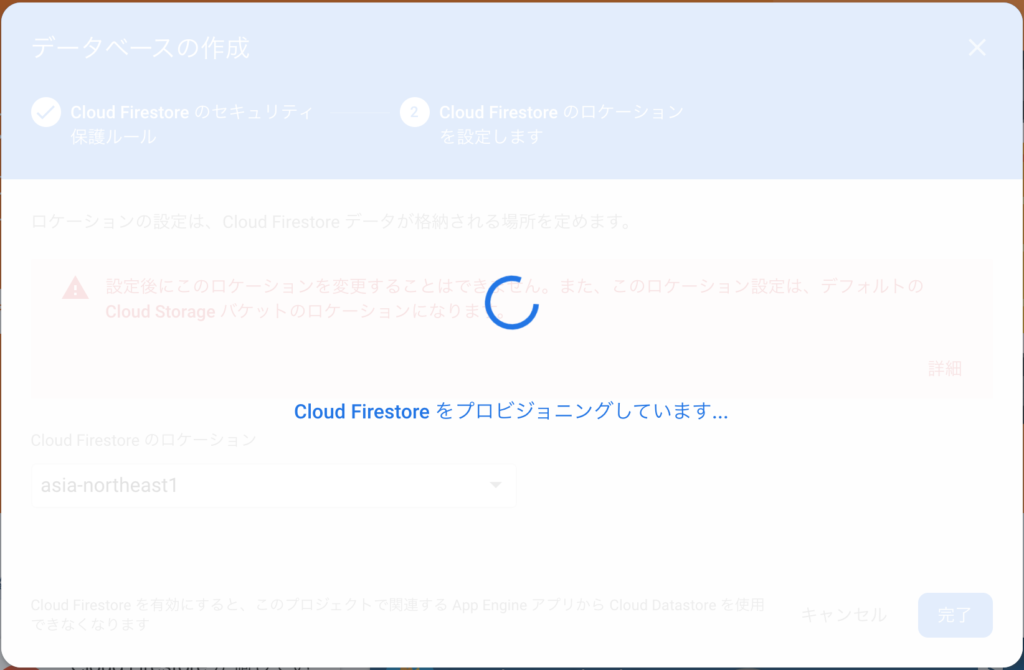
作成しているので、少々待ちます。
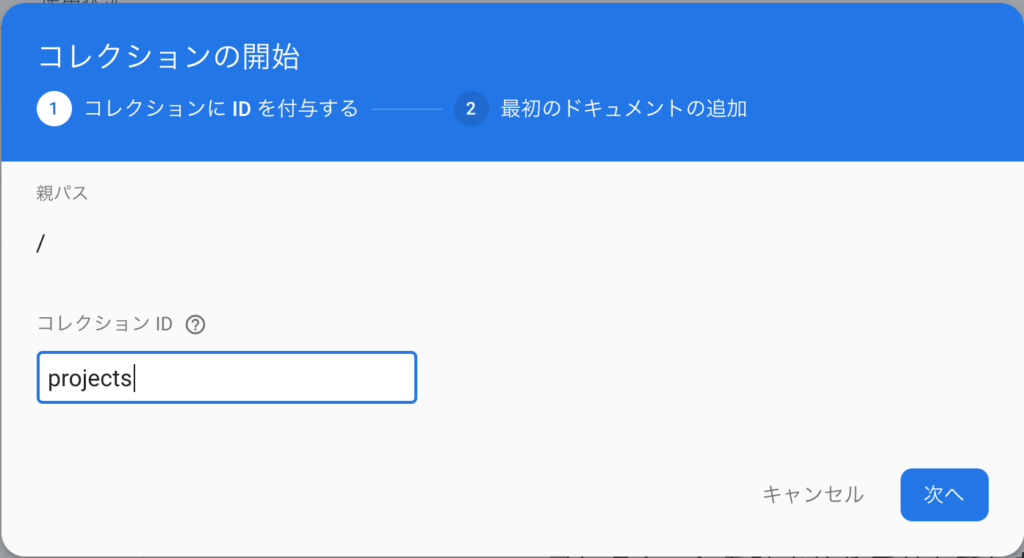
+ コレクションを開始をクリックします。

コレクションIDを入力します。
projects として次へをクリックです。
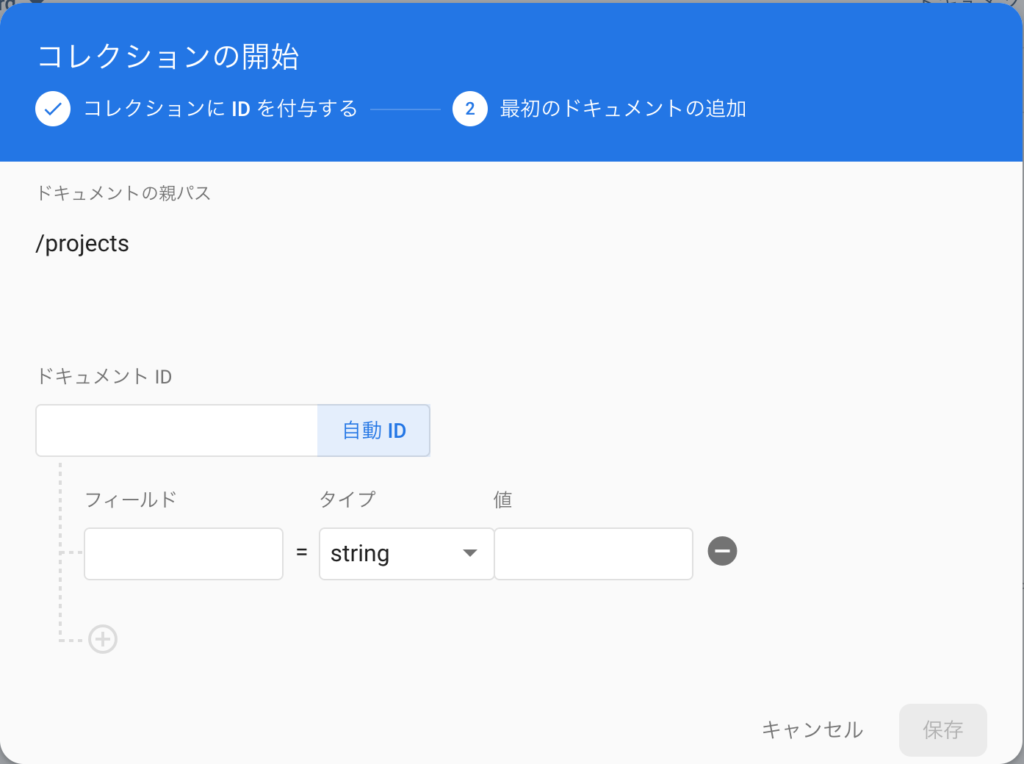
ドキュメント ID をつける必要があります。
特にこだわりがなければ自動IDをクリックです。
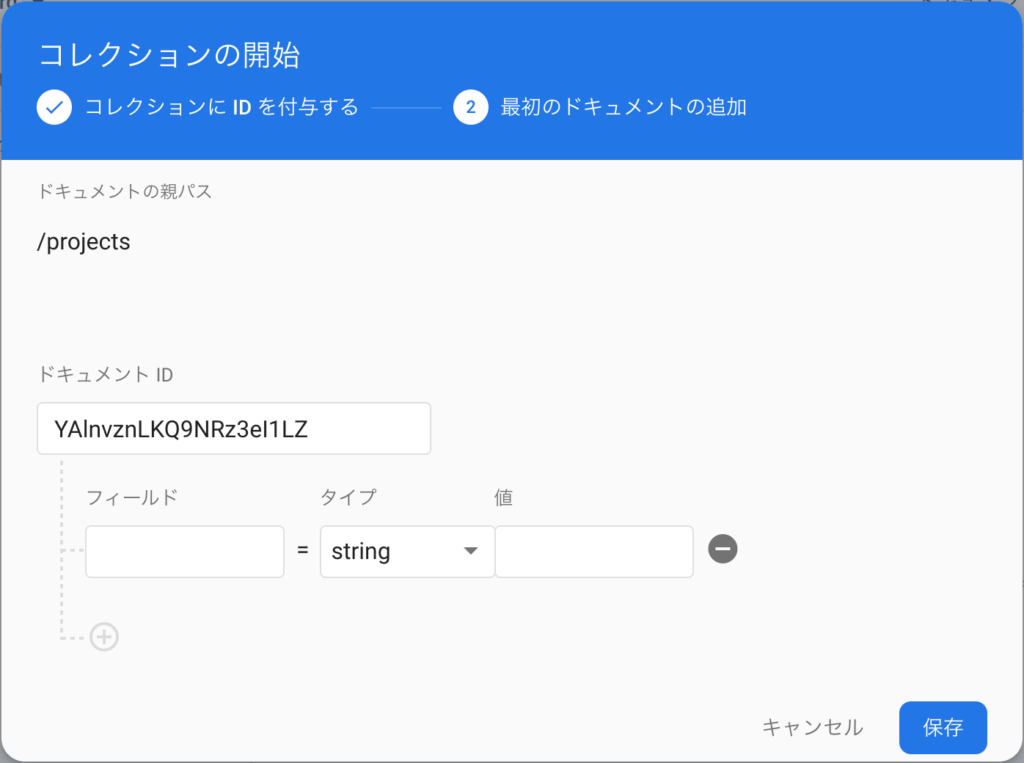
ドキュメントIDが付与されました。
保存をクリックします。
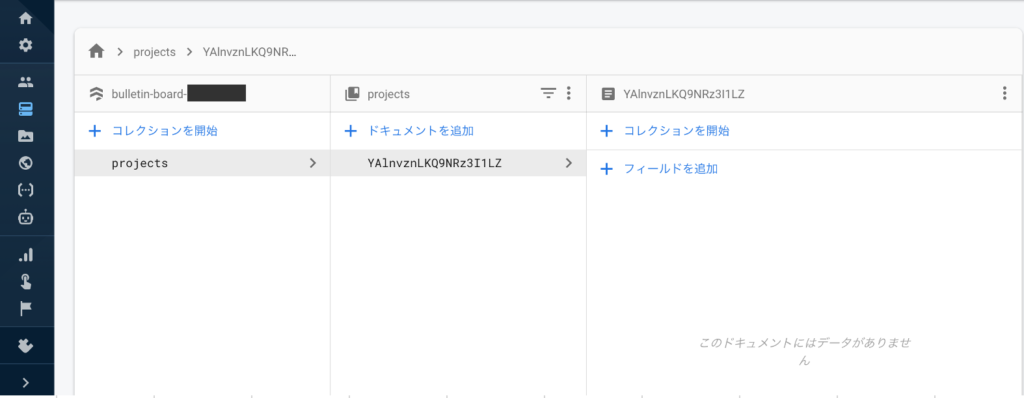
コレクションに projects ができました。
空のドキュメントまでできてしまったので
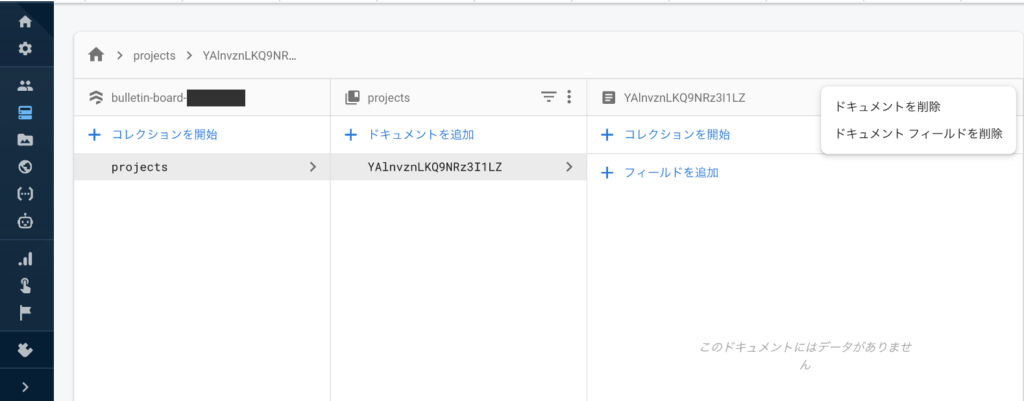
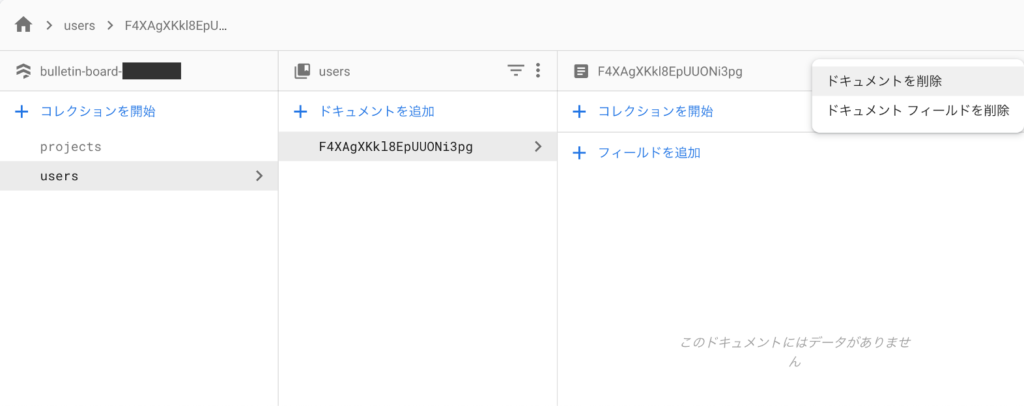
こちらは使わないのでドキュメントを削除してください。
右上のメニューボタンをクリック。
ドキュメントを削除をクリック。
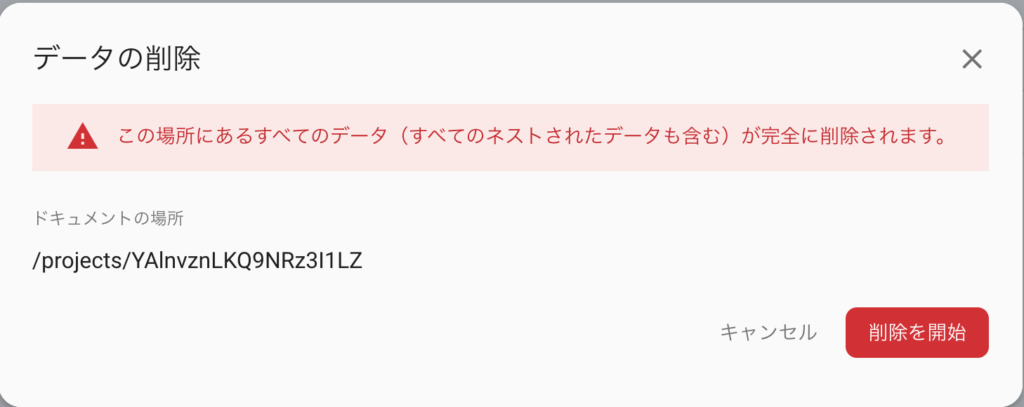
削除を開始をクリック。
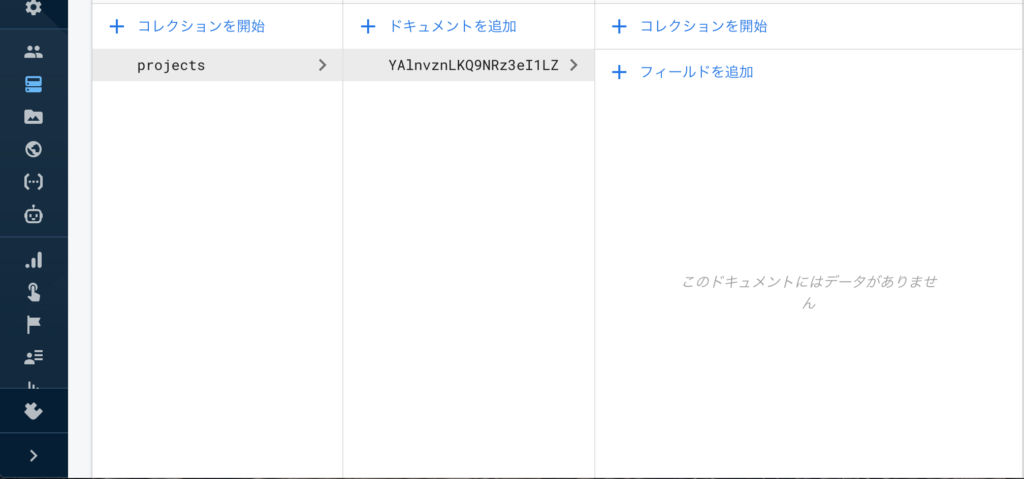
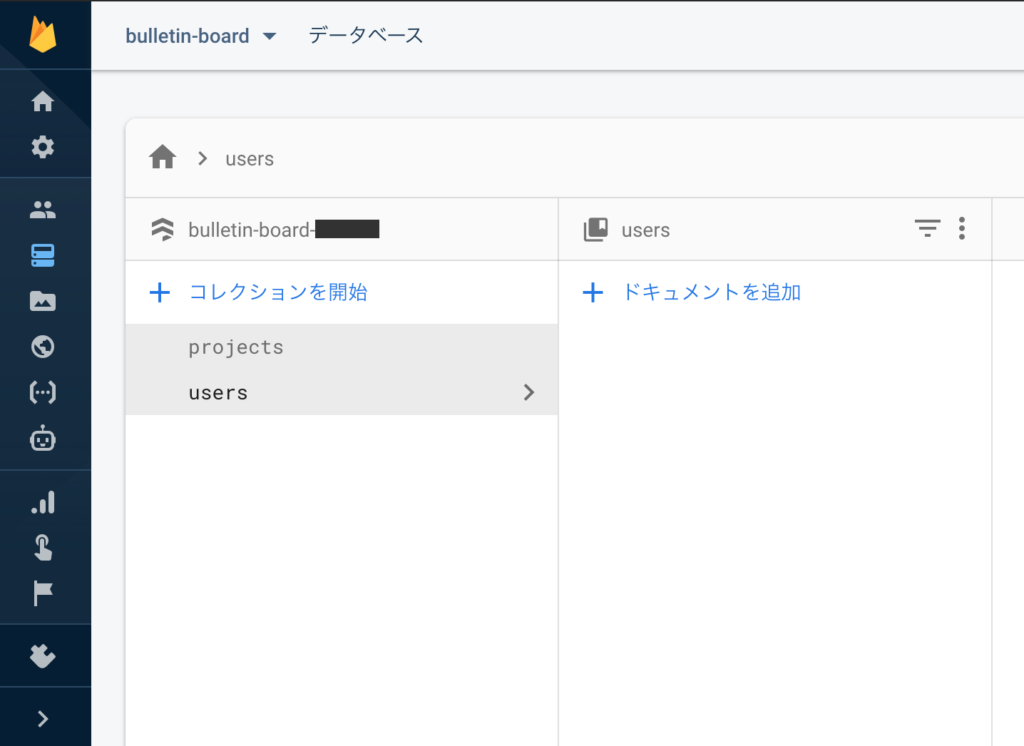
projects が無事できました。
+ コレクションを開始をクリックして、もう一つ追加していきます。
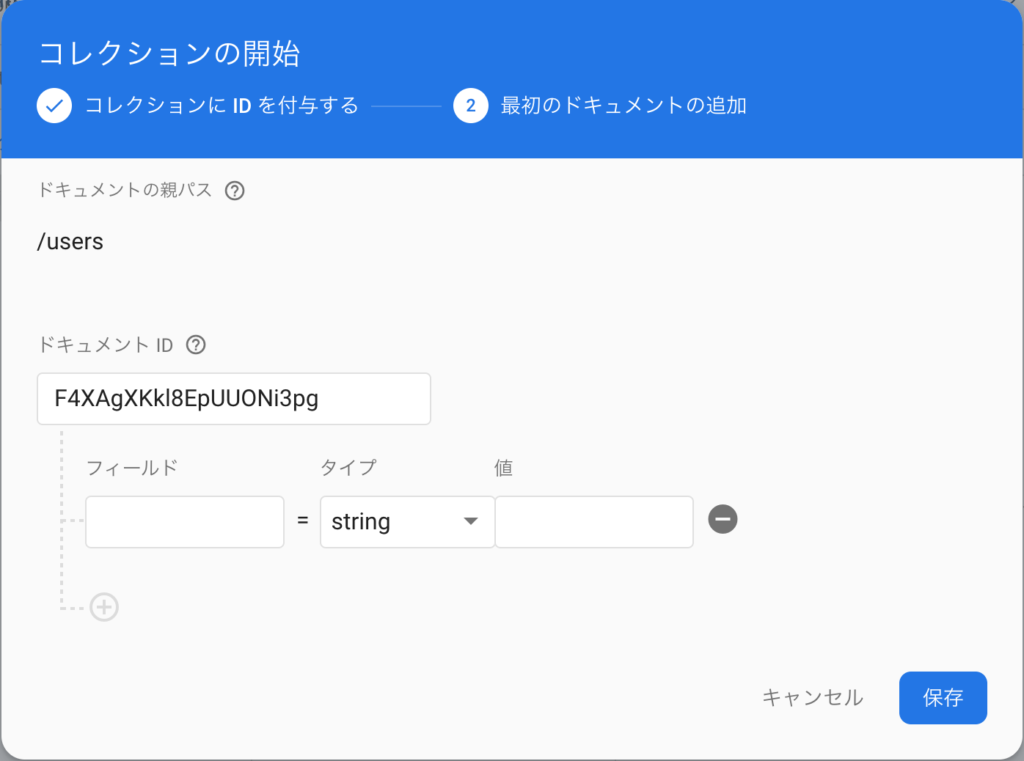
次は users として次へをクリックです。

自動ID をクリックして、ドキュメントIDを付与して保存します。
こちらのドキュメントも不要なので削除します。
削除を開始をクリック。

これでコレクションが二つになりました。
Reactでプログラムを書きながら
こちらの projects と users にデータを入れていきたいと思います。
とりあえずFirebaseの設定はこれで終わりです。
次にReactプロジェクトを作成していきましょう。
Reactプロジェクトの作成
コマンド(ターミナル)を利用してやっていきたいと思います。
任意のディレクトリに移動して、プロジェクトを作成します。
今回は「bulletin-board」という名前で作成していきます。
create-react-app bulletin-board「Succes!」が表示されたらプロジェクトができていると思いますので、
作成したディレクトリへ移動します。
cd !$実装に使用する必要なパッケージをインストールします。
バージョンアップされていてうまく動かなくなってしまったため
バージョン指定をしているものもあります。
※万が一うまくいかない場合は一つずつnpm install ~ を実行してください。
npm install react-router-dom redux redux-firestore react-redux-firebase  redux-thunk firebase react-redux@5.1.1 moment firebase-tools
npm install react-redux-firebase@2.4.1 redux-firestore@0.9.0 react-redux@5.1.1
念のためバージョン指定をしている2行目のnpm install ~
実行後に出力されている文字でバージョンの確認。

無事に指定のバージョンでインストールできているのが確認できました。
ファイル構成を作成します。
以下のようなファイル構成を作っていきます。
※重要そうなのだけ載せています。
bulletin-board
 ├── .firebase
 ├── firebase.json
 ├── functions
     └── index.js
 ├── node_modules
 ├── public
     └── index.js
 ├── package.json
 └── src
     ├── App.js
     ├── components
         ├── auth
             ├── SignIn.js
             └── SignUp.js
         ├── dashboard
             └── Dashboard.js
         ├── layout
             ├── Navbar.js
             ├── SignedInLinks.js
             └── SignedOutLinks.js
         └── projects
             ├── CreateProject.js
             ├── ProjectDetails.js
             ├── ProjectList.js
             └── ProjectSummary.js
     ├── config
         └── fbConfig.js
     ├── index.js
     ├── serviceWorker.js
     └── store
         ├── actions
             ├── authActions.js
             ├── index.js
             └── projectActions.js
         └── reducers
             ├── authReducer.js
             ├── projectReducer.js
             └── rootReducer.js
こちらの構成をコマンドで作成していきましょう。
(もちろん手動で作っても問題ないです。)
※コマンドbulletin-boardファイル下にいる想定で動かしています。
(流れに沿ってコマンド実行していれば、現在の場所はbulletin-boardだと思います。)
cd src
mkdir -p store/reducers store/actions components config
cd components
mkdir auth dashboard layout projects
touch auth/SignIn.js auth/SignUp.js
touch dashboard/Dashboard.js
cd layout
touch Navbar.js SignedInLinks.js SignedOutLinks.js
cd ../projects
touch CreateProject.js ProjectDetails.js ProjectList.js ProjectSummary.js
cd ../../config
touch fbConfig.js
cd ../store/actions
touch authActions.js projectActions.js index.js
cd ../reducers
touch authReducer.js projectReducer.js rootReducer.js
cd ../../../
Firebaseの設定
先ほどFirebaseで作成したアプリとのための設定をしておきましょう。
コマンド操作になります。
まずはログインしましょう。
ログインすることでアクセスが許可されます。
※bulletin-boardファイル下での操作になります。
firbase login次にdeployするための準備をします。
firebase init
以下のような選択肢が出てきますので、
FunctionsとHostingをスペースで選択してエンター。
? Which Firebase CLI features do you want to set up for this folder? Press Space to select features, then Enter to confir
m your choices.
 ◯ Database: Deploy Firebase Realtime Database Rules
 ◯ Firestore: Deploy rules and create indexes for Firestore
 ◉ Functions: Configure and deploy Cloud Functions
❯◉ Hosting: Configure and deploy Firebase Hosting sites
 ◯ Storage: Deploy Cloud Storage security rules
 ◯ Emulators: Set up local emulators for Firebase features
Use an existing projectにてエンター。
? Please select an option: (Use arrow keys)
❯ Use an existing project
  Create a new project
  Add Firebase to an existing Google Cloud Platform project
  Don't set up a default project
Firebaseのプロジェクト一覧が出てきますので、
今回使用するbulletin-boardのプロジェクトにてエンター。
? Select a default Firebase project for this directory:
❯ bulletin-board-xxxxx (bulletin-board)
JavaScriptで行います。
? What language would you like to use to write Cloud Functions? (Use arrow keys)
❯ JavaScript
TypeScript Nを入力してエンター。
? Do you want to use ESLint to catch probable bugs and enforce style? (y/N) NYを入力してエンター。
インストールが始まります。
? Do you want to install dependencies with npm now? (Y/n) Ybuildと入力してエンター。
? What do you want to use as your public directory? buildNを入力してエンター。
? Configure as a single-page app (rewrite all urls to /index.html)? (y/N) N
Firebase initialization complete!と出力されていればセットアップ完了です。
次にReactのプロジェクトに戻り、src/config/fbConfig.jsを編集します。
※firebaseConfig内はFirebaseのアプリのSettings/全般から取得できます。
自分のconfigを設定してください。
import firebase from 'firebase/app';
import 'firebase/firestore';
import 'firebase/auth';

var firebaseConfig = {
    apiKey: "firebase_api_key",
    authDomain: "bulletin-board-xxxxxxx.firebaseapp.com",
    databaseURL: "https://bulletin-board-xxxxxxx.firebaseio.com",
    projectId: "bulletin-board-xxxxxxx",
    storageBucket: "bulletin-board-xxxxxxx.appspot.com",
    messagingSenderId: "123412341234",
    appId: "1:123456789012:web:b2bb2bbb1496500e89cce6",
    measurementId: "G-A1234W12C0"
};

firebase.initializeApp(firebaseConfig);
firebase.firestore();

export default firebase;cssにはMaterializedを使用します。
詳しく知りたい方は公式ドキュメントをご覧ください。
public/index.htmlを編集します。
まずこちらの2行を<title>の直前に入力します。
	<link href="https://fonts.googleapis.com/icon?family=Material+Icons" rel="stylesheet">
	<link rel="stylesheet" href="https://cdnjs.cloudflare.com/ajax/libs/materialize/1.0.0/css/materialize.min.css">

	<title>React App</title>
こちらの1行は</body>の前に入力します。
<script src="https://cdnjs.cloudflare.com/ajax/libs/materialize/1.0.0/js/materialize.min.js"></script>
</body>src/index.cssも少し修正しておきます。
body {
    margin: 0;
    background-color: aquamarine;
    font-family: -apple-system, BlinkMacSystemFont, 'Segoe UI', 'Roboto', 'Oxygen',
    'Ubuntu', 'Cantarell', 'Fira Sans', 'Droid Sans', 'Helvetica Neue',
    sans-serif;
    -webkit-font-smoothing: antialiased;
    -moz-osx-font-smoothing: grayscale;
}

code {
    font-family: source-code-pro, Menlo, Monaco, Consolas, 'Courier New',
    monospace;
}

form {
    padding: 20px;
    margin-top: 60px;
}

form button, form h5 {
    margin: 20px 0;
}

input[type=text]:not(.browser-default):focus:not([readonly]),
input[type=email]:not(.browser-default):focus:not([readonly]),
input[type=password]:not(.browser-default):focus:not([readonly]),
textarea.materialize-textarea:focus:not([readonly]) {
    border-color: chartreuse;
    box-shadow: none;
}
これで下準備は終了です。
次から実装に入っていきたいと思います。
https://kazunaka.com/react-firabase-bulletin-board-2/


コメント